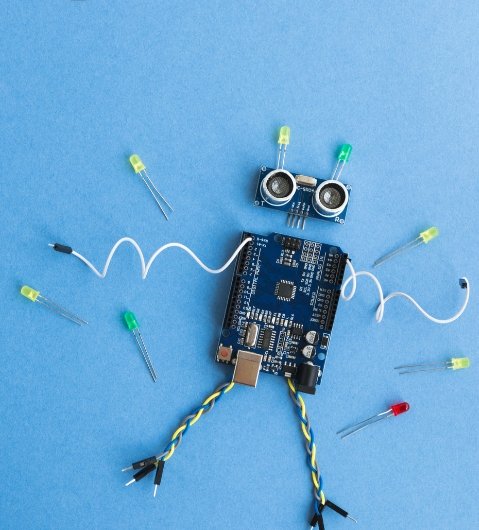
Are your kids fascinated by robots? Do they love watching them in films and TV? Here are some smart home hacks to make a DIY robot with household items.
Gather the Materials
The first step is to gather all the materials required for the robot-making project. Here are the materials you'll need:
- Cereal Box
- Toilet Paper Roll
- Markers and Paint
- Scissors
- Glue Gun or Duct tape
- Assorted Wires
- Batteries (AA)
- DC Motor
- Switch
- LED Lights
Instructions
Step 1:
Cut the cereal box in half lengthwise and keep aside one half for the robot's body.
Step 2:
Use a toilet paper roll to create the robot's head and cover it in papier-mache to give it a sturdy structure.
Step 3:
Paint the body and head of your robot with your favorite colours and let it dry.
Step 4:
Make small holes on the robot's body to insert LED lights for the eyes and other parts.
Step 5:
Use a glue gun or duct tape to attach the robot's head and body.
Step 6:
Attach a DC motor to the body of the robot to provide power for movement.
Step 7:
Connect a switch to the motor to control the robot's movement.
Step 8:
Use assorted wires to connect the LED lights and other motors.
Step 9:
Insert batteries and turn on the power switch, and you're ready with your DIY robot.
Tips to Enhance Your DIY Robot
1. Add Arms and Legs to the Robot
You can add arms and legs to the robot to make it look like a human. Use cardboard, sticks, or any materials to create arms and legs.
2. Install Sensors in Your Robot
By adding sensors to the robot, you can control its movement using sound, light, or motion. Sensors can also help the robot move around obstacles.
3. Use More Powerful Motors
To provide more power to the robot, use stronger motors. You can also use a remote control to operate the robot.


